How to Take Screenshot on Windows 11
Taking screenshots and using them for your projects, official presentations, reading them later or occupying the whole page cannot be replaced, no matter which version of Windows you are using. Well, it doesn’t exactly matter why you need a screenshot because this blog will anyway tell you how to take a screenshot on Windows 11 in the smoothest manner. As Windows 11 is sprawling in our computers at any moment, these ways to capture them are perfect for you to get ready with newness.
How to Take Screenshots on Windows 11
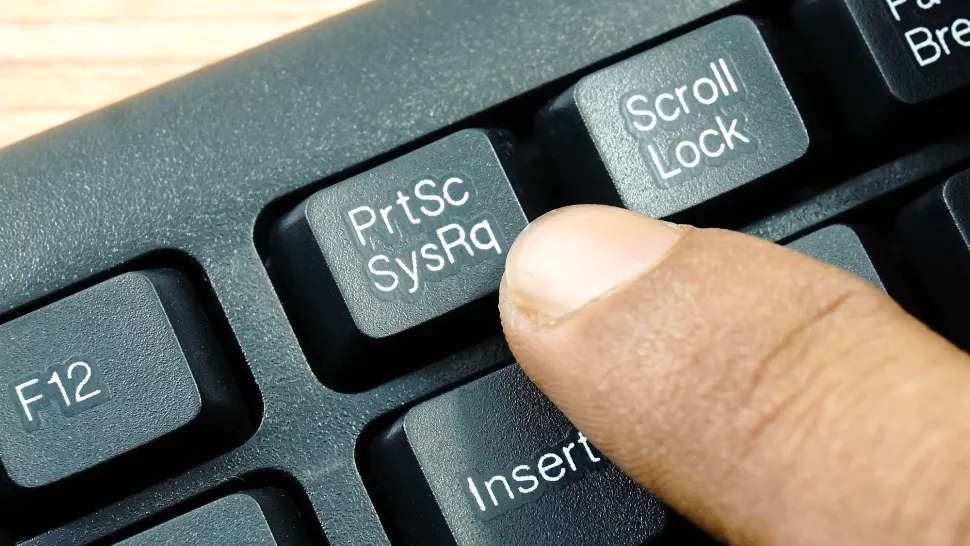
- Using Print Screen Key (Copies To Clipboard)
Just like Windows 10, Windows 11 also provides you the best and quickest way to take screenshots. When you press the PrtSc on the keyboard, the entire screen open at the moment is copied on the clipboard. This image could be pasted and used anywhere for you. However, the method may go a little off beat if you have multiple monitors available. When you press PrtSc in the moment, one huge image is copied on the clipboard and if you wish to save the image then an editor is required. One can use Paint or Photoshop for further and refined usage.
Coming to the section of PrtSc, press the key and use Ctrl + V for pasting and processing.
- Windows key + PrtScn (Takes Screenshot)
Another easiest way to take screenshots on Windows 11 is the method of pressing the Windows key on the board along with the Print Screen key. You will see that the screen is going dull for a while and brighten up once again which means that screenshot has been captured. After doing so, go to the ‘Pictures’ folder on your computer and open ‘Screenshot’s folder. Here you will find all your screenshots.
You can note down that some laptops may require you to press the Function key (Fn) along with the two other keys.
- Windows + Shift + S (Take Screenshot Of The Specific Part)
In order to take a specific part of the screen as a screenshot rather than the whole setup, press Windows key along with Shift and S. This allows you to take a rectangular snip, free form snip or Windows snip along with full screen snip. The best part about free form snip is that you can take any shape without getting restricted.
Once you select the area, the image is copied to the clipboard and can be pasted anywhere for the email or other programs.
- The All In One Snipping Tool
Snipping tool is a wonderful application to capture screenshots on Windows 11 system. For this, go to the Start menu of Windows 11 and type ‘snipping tool’. Open the application and click ‘New’ in the app’s toolbar. Now drag down the parts of the screen or whole screen which is required to capture.
Release the button and the app will allow you to edit the image, highlight certain content and annotate. Now this screenshot could be saved in the computer by clicking on File on the top left corner and choosing ‘Save as’.
- Game Bar (Windows key + G)
Although it was rolled out in 2017 by Windows 10 Creators Update, this method allows you to take screenshots in Windows 11 too. It can take your on-screen game play action and capture them easily. Open the game app you wish to capture on Windows 11 and press Windows + G to open the menu. Click on the camera button from top left and start taking screenshots of the game. If you wish to go for screen recording, click the circular recorder button and let the whole gameplay get recorded.
- Using Third Party Tool
Any of the third party tools like TweakShot and PicPick could be used to capture screenshots on Windows 11. Using the tweakshot tool you can also capture scrolling screenshot. These tools are also very easy to use and are pretty straightforward in terms of navigation. All you need to do is launch the application and get guided from the toolbar.
To add more to it, you can look for browser extensions like Awesome Screenshot for a quick tool which can be used without downloading any space-occupying tool in the system.
Wrap-Up:
We hope that you have found out how to take screenshots on Windows 11 easily and get all the required screenshots for your personal or professional use from here. Even if Windows 11 is a hype rolling out, you would notice that taking screenshots is not a very unique or distinct process. This is why you can check out all the steps mentioned above and enjoy taking screenshots along. Which is your favorite way of taking screenshots and how is Windows 11 going for you? Share your views with us in the comments below.