Using Night Mode on Your iPhone’s Camera: Everything You Need to Know
The hours after dark can be full of magical scenes, from a sweep of city lights to friends having dinner in a softly lit restaurant. Once, to capture these scenes with a camera, you’d have to pull out an obnoxious flash that would get you the stink eye from everyone around. Plus, you’d probably be left with a washed-out photo that didn’t look that great.
Now, with the highly advanced cameras of the newer generations of iPhones, you can take gorgeous HD photos even in dim lighting. The feature called Night Mode will turn your camera into a long-exposure beast suitable for late nights, early mornings and everything in between.
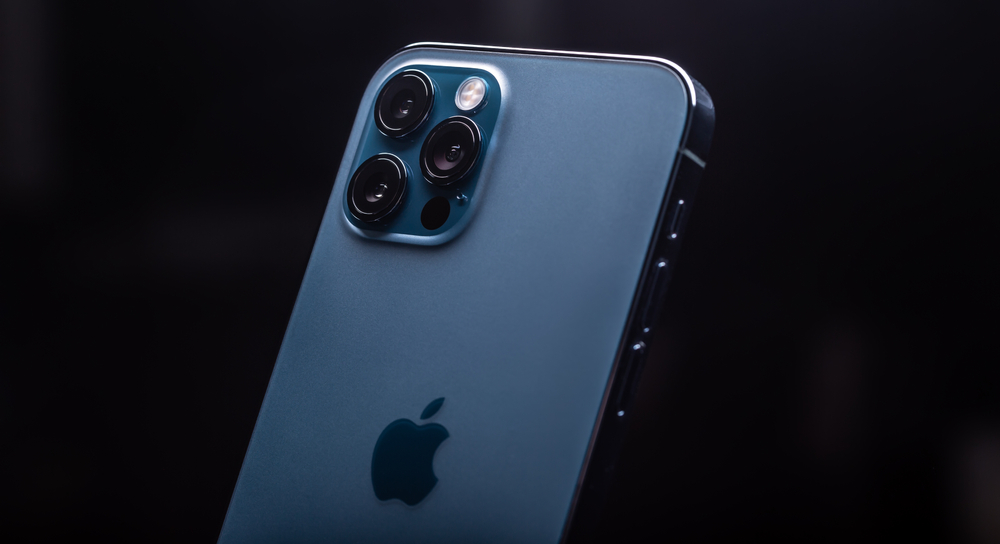
If you’ve been looking to ditch the camera case for an iPhone 12 case when you’re out and about after hours, Night Mode could be just what finally allows you to do it. It’s one of the most professional features introduced for the iPhone camera yet. In this article, we’ll show you how to use it most effectively.
What Is Night Mode on an iPhone Camera?
Night Mode is a feature available on the camera of the iPhone 11, iPhone 12 and iPhone 13. It allows your camera to capture great images in low-light settings. And it’s not a flash — in fact, activating the flash on your camera will automatically deactivate Night Mode.
Your iPhone camera achieves flash-free night photos by taking multiple photos with different exposure times and then combining them. Exposure is one of the basic principles of photography: The more a photo is exposed, the more light it captures. Using this principle, Night Mode creates stunning composites from photos that use their exposure differences to highlight areas that may need more or less light.
This does mean that there’s a certain technique required for taking great Night Mode photos, which we’ll talk about shortly. However, one of the things that’s most striking about Night Mode is how easy it actually is to use.
How to Use Night Mode on an iPhone Camera
In most cases, Night Mode should automatically activate in dim lighting. (Again, remember not to turn on your flash.) You’ll know it’s activated when you see a yellow icon of a half-shadowed moon at the top of your Camera screen. If you see the icon in gray instead, you can tap it to turn Night Mode on manually.
When it’s in Night Mode, your camera will take a few seconds to actually snap the picture. That’s why you’ll see a timer appear next to the Night Mode icon. You can also set the timer manually by tapping the icon and adjusting the slider. To turn off Night Mode, slide the timer manually into the “off” position.
Night Mode still requires a little bit of light. You’re bound by the basic laws of physics, so you can’t take a photo in pitch darkness because there’s simply no light to photograph. But you might be surprised by just how little light your camera can work with, although your image will turn out better the more light you have.
Portraits, Time Lapses and Selfies
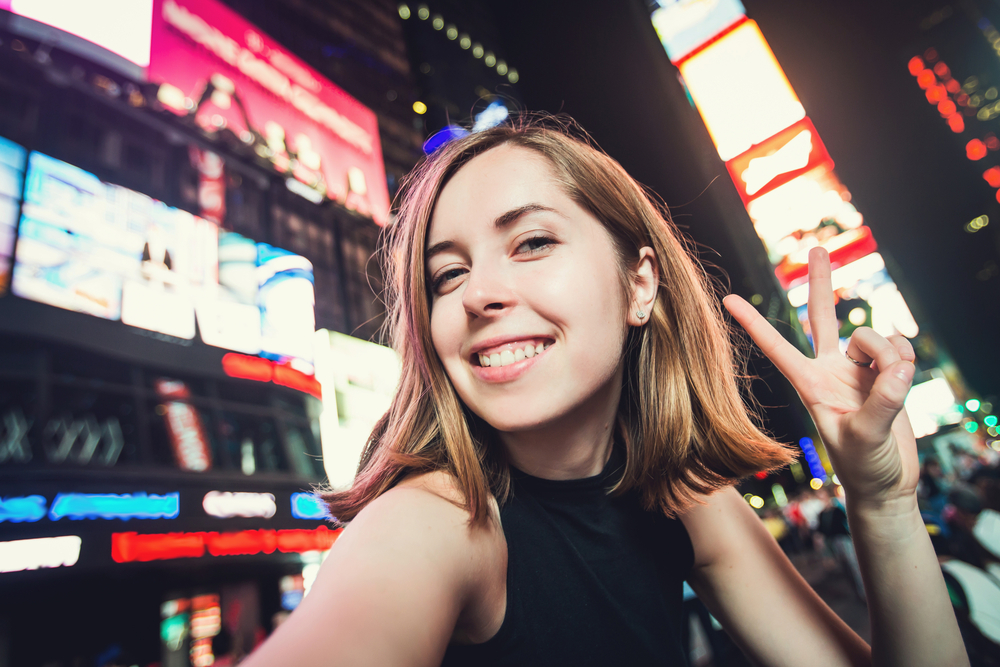
Many users love the fun and powerful features that iPhone cameras come with, such as Portrait mode and the ability to create time lapses. And, of course, there’s the ever-popular selfie. If you’re using an iPhone 12 or newer, these features still work in Night Mode, and they work amazingly well!
It’s just as smooth and natural to use Night Mode in these contexts as it is in a normal photo. Your iPhone will activate Night Mode for you when it detects low light, and you can then use all of your Camera modes (including the rear-facing selfie camera) as normal.
The 0.5x ultra-wide lens is a powerful tool that also works in Night Mode on the iPhone 12 and newer. Try it out next time you’ve got an exceptional nighttime view, such as your favorite spot for viewing a city skyline.
Steady as She Goes
A steady hand is essential when you’re shooting in Night Mode. Movement during exposure will degrade the clarity and quality of your image, although the effect can actually be less dramatic than it is when shooting night photos with a DSLR.
While you don’t need the absolute stillness of a tripod, it can help you get more consistent results with Night Mode. If you go with a tripod, make sure to get one with an adjustable size to fit any phone and case. The size difference between (for example) an iPhone 11 case and an iPhone 12 Pro Max case can be pretty substantial!
If you don’t want to go for a tripod, you can use just about anything that’s available to steady your aim. A railing, a table or whatever is around will do just fine. Shooting while crouching or sitting can also help reduce your body’s natural vibrations so your hands stay steady.
Choosing Your Scene
Some locations and conditions will create better images in Night Mode than others. Here are some tips for making sure you’re at the right place at the right time:
- Try shooting at dusk or dawn, when there’s just a little bit of light in the sky. A lesser camera might struggle to capture these shots, but Night Mode thrives in such situations.
- Find areas with interesting lighting at night. Christmas decorations and neon signs are great for this! This will give you more options for lighting your Night Mode shot, allowing you to create more striking compositions.
- Choose areas with both light and shadows, like parks lit by street lamps. In these high-contrast areas, you’ll have lots of opportunity to play with techniques like silhouetting and juxtaposition.
Live Photos
Unfortunately, Live Photos is one of the few camera modes that hasn’t yet received compatibility with Night Mode. Much like your flash, turning on Live Photos will automatically disable Night Mode. Hopefully, Apple will give us an option for combining these two fun modes in a future iPhone model!
Night Mode is a powerful tool, so get out there and have some nocturnal fun with your iPhone! Be safe and make some great memories.

