Exchange 2013 to Office 365 Migration Checklist – Comprehensive Points
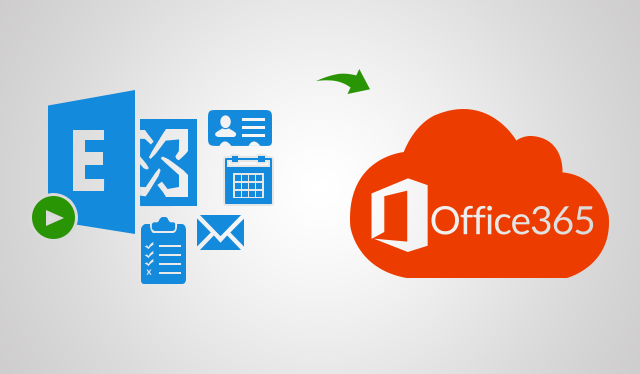
Users have started using cloud computing now more than ever. This is because of the features and functions provided by cloud services that make more and more businesses to switch over to Office 365. There are various things you should know before you migrate which is why this write-up contains an Exchange 2013 to Office 365 migration checklist for you to understand the requirements.
You know it can be a headache trying to migrate your data from On-Premises to Cloud without even after you know exactly what to do. There are a number of things that a user should always keep in mind, especially following the steps in the correct order, so that there are no risks of data loss or anything.
Also, your employees may think that they have been kept out of loop when you all of a sudden tell them to change their email platforms. You have to be sure that the data is kept safe while moving. Along with that, the migration process may take a lot of time, say, from a few weeks to several months.
Types of Exchange 2013 to Office 365 Migration Checklist
Here, you will find the pre-migration checklist and the post-migration checklist which will be explained in the following section one-by-one.
Let’s firs take a look at the pre-migration checklist and what comes under it. Later on, you will be given a description on post-migration checklist. Stick to this write-up to know the details for a better understanding of the requirements of migration.
Pre-Migration Checklist from the Exchange 2013 to Office 365 Migration Checklist
-
In Advance Preparation of the End Users
It is important that you start the migration with a proper communication with the members of your organization. Every person should know about the migration plan before you implement it. Share the information about how the migration is going to happen, the impacts and the changes that will be faced etc.
Then, you have to share other important things as well such as the day of the migration, time frame, the resource management etc. Also, take idea from the management and then decide and draft a project plan with no discrepancies.
- Details of On-Premises Data
In this task from the Exchange 2013 to Office 365 migration checklist, you have to prepare an inventory of the data that you have in On-Premises server. The following details are what you need to have before migrating:
- The name, sizes, and email address of the mailboxes.
- Locations where the data is stored, client versions (the browser, OS, Office apps), and configurations.
- Check the network settings and add them in the list along with the DNS hosts, proxy and firewall configuration, intranet sites, internal switches, available bandwidth, and internet connectivity
- Every online meeting, the application systems that are associated with it, instant messaging, and the DNS records that are configured.
-
Present Environment Inspection
The following reviews are needed for the present On-Premises environment:
- What methods are used to create and sync the accounts.
- Which licenses are needed by the accounts.
- The need for backup and its policies.
- Suitability of the network and its capacity for migration.
- Requirement of basic training for the users.
- Criteria for authenticity of the user accounts.
-
Preparation of the Data
The Exchange 2013 to Office 365 migration checklist requires you to make sure that the data you want to migrate is ready. Check these out:
- Updated Active Directory
- Removed useless accounts
- Make sure the UPN of the source and target match
- Email addresses should be valid within the proxy addresses attribute
- Offline or online archive facilities are required
-
Setup Account in Office 365
Now, you have to create and set up your Office 365 account in this final task. Go through the given considerations to set up your account:
- Get the required subscription and the license for Office 365
- Authenticate the domain names
- You have to get the security permissions and apps to use configured.
- Also, the directory sync for Office 365 and single sign in options can also be configured if required.
- Test the migration process.
Now, moving to the post-migration checklist.
Post-Migration Check from the Exchange 2013 to Office 365 Migration Checklist
- Redirecting and Caching Email
Once you have performed the migration process, you need to redirect the user accounts to Office 365. Make sure that the status for each of these folders is “The folder is up-to-date”.
- Licenses for the Migrated Mailboxes
It is eminent that you assign licenses to all the mailboxes that have been migrated or they will be disabled after 30 days without any license. It would be wise to assign the licenses for long term use as soon as possible.
- AutoDiscover DNS Records Creation
This step of the post-migration list is pretty important which is to get the Autodiscover DNS records to be configured with Office 365. With the help of this, users can easily connect their accounts to Outlook email and other mobile clients too.
- Withdraw the Source
This task of Exchange 2013 to Office 365 migration checklist requires you to decommission the source environment. But before that, you need to make sure that all the licenses have been assigned, everything is working well, and there is no synchronization expected in the future with the source environment.
This is the entire migration checklist that you need to consider before you start the process. Once it is all done, you will find that the migration for On-Premises to Cloud has been completed successfully but be careful as missing even one step can cause various risks.
Last Points to Consider
Since the usage of Office 365 has been increased, many of the businesses have started asking questions for the checklist before migrating. In this write-up, we have mentioned the detailed points on the list. You can check these out from the Exchange 2013 to Office 365 migration checklist and understand what things to consider before performing the task.
If you do not want to go through such a troublesome process, you can make use of the Exchange On-Premise to Office 365 migration tool which doesn’t require you to do so much. You can use this software and perform the process without having to waste a lot of time and energy.

